Aseprite Extension
ControlNet
Lock pose, depth, line work, and scene structure while generating.
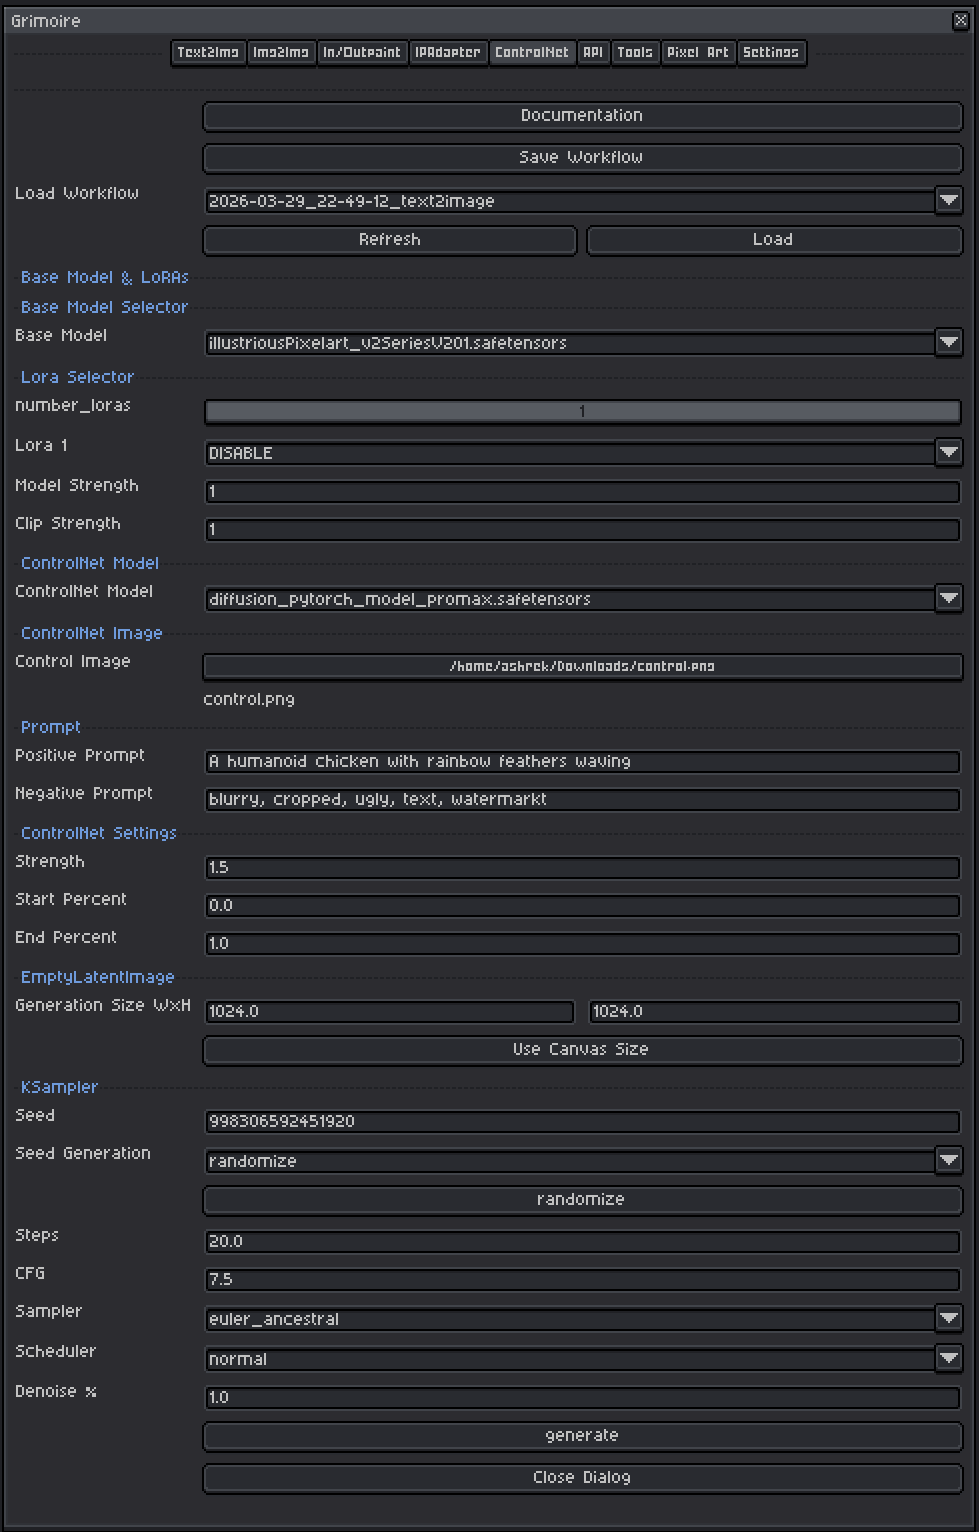
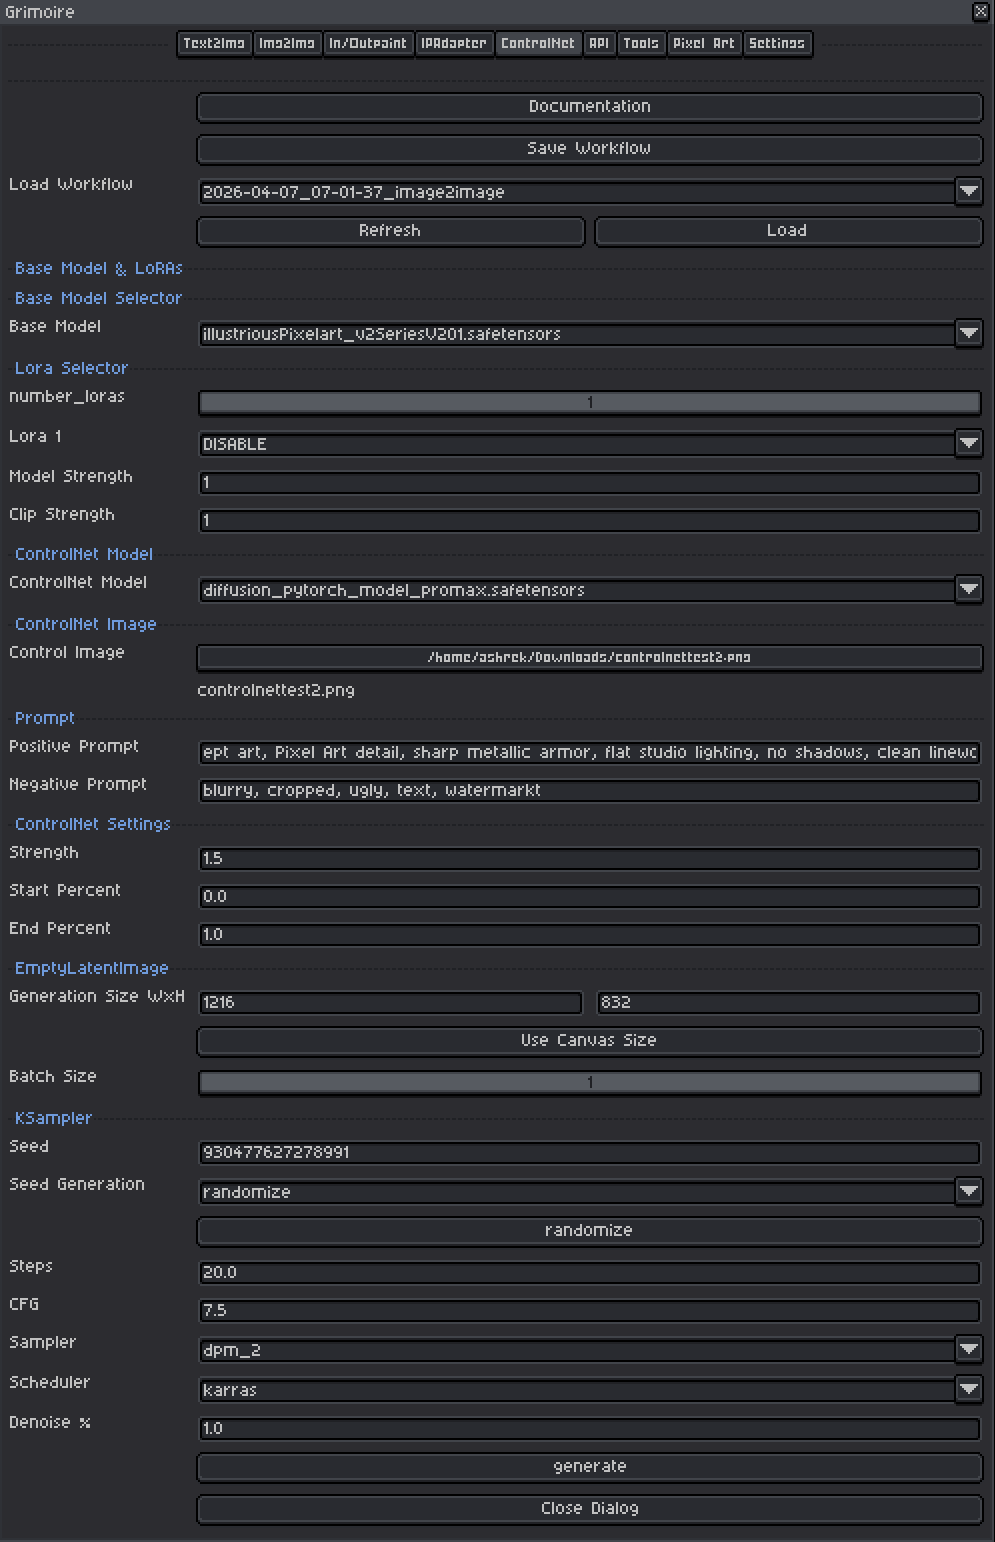
ControlNet Tab
What Is This?
ControlNet lets you guide image generation using a structural reference image — a preprocessed map that tells the model where edges, poses, depth, or lines should be in the output. Unlike style transfer (IPAdapter), ControlNet constrains the spatial structure of the image.
Examples of what you can do:
- Provide an OpenPose skeleton image → generate a character in that exact pose.
- Provide a depth map → generate a scene with that exact spatial depth structure.
- Provide a line-art sketch → the model fills it in with color and texture.
- Provide an outline edge map → enforce the exact outline structure of a scene.
ControlNet separates what to generate (your text prompt) from how it should be arranged spatially (the control image). This makes it one of the most powerful tools for getting consistent, predictable compositions.
Quick Start
- Choose a Base Model compatible with your ControlNet model.
- Select the appropriate ControlNet Model for your control type.
- Pick your Control Image — the structural guide map (not a photo you want to style).
- Write a Positive Prompt describing the scene and style.
- Set Strength to
0.8and leave Start/End Percent at defaults. - Set generation size or click Use Canvas Size.
- Leave KSampler at defaults and click Generate.
Tip: Use the Tools tab’s ControlNet Reference Generator to create OpenPose or Depth Map control images directly from your current Aseprite sprite before switching to this tab.
Base Model Selector
A checkpoint is a single file containing a complete, self-contained AI model — think of it as the artist behind your generations. Each checkpoint has been trained on a specific collection of images and has developed its own visual style as a result. One checkpoint might produce photorealistic results, another painterly oil paintings, another crisp pixel art. The checkpoint you pick has the single biggest impact on what your output looks like.
Important: ControlNet models are trained for specific base model architectures, so the ControlNet file you pick must match the family of your checkpoint. Check the ControlNet model’s name or description — it will typically say which architecture it was trained for. Mismatching a ControlNet to the wrong checkpoint will produce broken or meaningless output.
Tips:
- Models trained on pixel art produce pixel art output without extra effort in the prompt.
- Any checkpoint that can be loaded by ComfyUI’s standard checkpoint loader will work here.
LoRA Selector
LoRAs (Low-Rank Adaptations) are small add-on files that nudge the model toward a specific style, character, or technique without replacing the whole model.
Controls:
| Control | What It Does |
|---|---|
| Number of LoRAs slider | Shows 1–5 LoRA slots. Slots beyond the slider value are hidden and set to DISABLE. |
| LoRA dropdown | Pick which LoRA file to use. Set to DISABLE to skip that slot entirely. |
| Model Strength | Controls how strongly the LoRA pushes the visual output toward its style. At 0.0 the LoRA has no effect; at 1.0 it applies its full influence. |
| Clip Strength | Controls how much the LoRA changes what your prompt words mean to the model. For example, a pixel art LoRA with high Clip Strength might make the word “character” automatically invoke pixel art proportions and conventions even if you don’t write “pixel art” in your prompt. At lower values your words keep their normal meaning while the visual style still shifts. In almost all cases, set this to the same value as Model Strength. |
Recommended ranges:
- Model Strength:
0.5–1.0. Start at0.8. Above1.0often causes over-saturation or artifacts. - Clip Strength: Match Model Strength as your default. Only lower it independently if the LoRA seems to be overriding or confusing your prompts in unexpected ways while the image style still looks correct.
- LoRAs work alongside ControlNet — you can apply a style LoRA while ControlNet handles the structure. If results look over-styled, reduce LoRA Model Strength to
0.5–0.7.
ControlNet Model
The ControlNet model defines what kind of structural signal it reads from the control image. Different ControlNet models expect different types of input maps. Choosing the wrong type — for example feeding a depth map to a Canny ControlNet — will produce confused or broken output.
Canny
What it does: Canny reads a map of the outlines and sharp edges in your image, then generates output whose objects fall along those same edges. It is one of the most precise ControlNet types — the generated image will closely follow every contour in the control map.
Control image: A black image with white lines drawn along every edge and boundary (called an edge map or canny map). It looks like a technical line drawing with no fill, just outlines.
How to create one: Run a Canny preprocessor node in ComfyUI on any source image. The preprocessor automatically detects edges and outputs the white-on-black line map. You can also draw clean outlines on a black background by hand.
Best for:
- Enforcing the exact shape and silhouette of objects.
- Turning a pixel art sprite outline into a styled generation that follows the same shapes.
- Architectural or geometric scenes where precise edges matter.
Recommended strength: 0.7–0.9. Canny is quite strict — lower strength gives the model more creative room while still following the broad shapes.
OpenPose
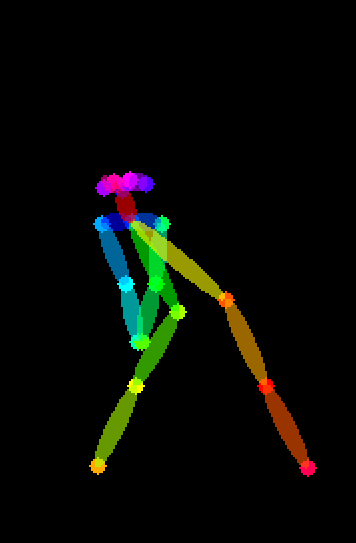
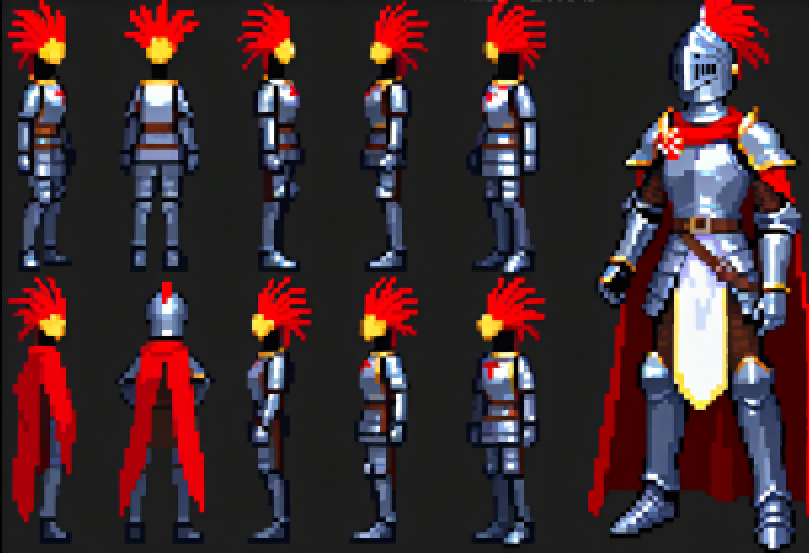
What it does: OpenPose reads a skeleton diagram — a stick figure showing the positions of a body’s joints (head, shoulders, elbows, wrists, hips, knees, ankles) — and generates a character or figure in that exact pose.
Control image: A color-coded skeleton diagram on a black background. Each body part is drawn as a colored line or dot connecting the joints. This looks like a stick figure made of colored circles and lines.
How to create one: Use the Tools tab → ControlNet Reference Generator → OpenPose. This runs the OpenPose preprocessor on your active sprite and returns the skeleton image. You can also draw a stick figure manually if your input is simple.
Best for:
- Reposing an existing character into a specific stance or action.
- Generating multiple consistent character images in different poses.
- Any time you want to control how a figure is standing, sitting, or moving rather than just what they look like.
Note: OpenPose works best with human or humanoid figures. It may struggle with very small sprites, unusual angles, or non-humanoid subjects.
Recommended strength: 0.8–1.0. Pose control usually needs fairly high strength to reliably reproduce the intended body position.
Depth
What it does: Depth reads a grayscale image that encodes how close or far each part of the scene is from the viewer — white means close, black means far. The model uses this to recreate the same spatial layout and sense of 3D depth.
Control image: A grayscale image. Bright areas are in the foreground, dark areas are in the background. It should look like a foggy or x-ray version of your scene where distance is shown by brightness.
How to create one: Use the Tools tab → ControlNet Reference Generator → Depth Map. This runs Depth Anything V3 on your active sprite and returns the depth image. ComfyUI also has several depth preprocessor nodes available.
Best for:
- Preserving the overall spatial composition of a scene (what’s in front, what’s in back).
- Generating a styled version of a scene that keeps the same foreground/background arrangement.
- Landscape and environment art where depth layering matters.
Recommended strength: 0.6–0.85. Depth is generally more forgiving than Canny — the model can reinterpret fine details while following the broad depth structure.

Lineart
What it does: Lineart is similar to Canny but designed for artistic line drawings rather than algorithmically detected edges. It is more tolerant of hand-drawn or softly defined lines and produces smoother, less mechanical results.
Control image: A clean line drawing — black lines on a white background, or white lines on black. The lines should clearly show the outlines and key interior details of the subject.
How to create one: Draw line art directly in Aseprite, or run a Lineart preprocessor node in ComfyUI on an existing image.
Best for:
- Colorizing and rendering a hand-drawn sketch or line art.
- Pixel art line art — export your sprite as clean outlines and use those to generate a fully rendered version.
- Any situation where you have clean line work you want the AI to fill in.
Recommended strength: 0.7–0.9. Similar to Canny — high enough to follow the lines clearly, but a little below maximum to let the model add natural texture and detail.
Scribble
What it does: Scribble is a forgiving, rough version of line control. You give it a loose hand-drawn sketch and it uses that as a general compositional guide rather than an exact structural rule. The model has much more freedom to interpret and fill in the details.
Control image: A rough freehand sketch — thick, imprecise lines are fine. It does not need to be clean or accurate. Think of it as drawing a very quick napkin sketch that suggests where things are rather than defining them precisely.
How to create one: Draw directly in Aseprite with a brush tool. Keep it loose — the whole point of Scribble is that it tolerates imprecision.
Best for:
- Quickly blocking out a rough composition and having the AI flesh it out.
- Prototyping scene layouts without needing clean art.
- Creative exploration where you want to suggest a layout but give the model room to interpret it.
Recommended strength: 0.6–0.85. Because Scribble is already loose by nature, very high strength can over-constrain the output in ways that make the roughness look bad. Stay in the middle range.
Tile
What it does: Tile ControlNet works very differently from the others. Instead of enforcing broad composition, it enforces local detail consistency — it tells the model to add fine detail that is faithful to small patches of the control image. It is primarily used for upscaling and adding detail to existing images rather than generating from scratch.
Control image: The image you want to add detail to, at its current (lower) resolution. You pass your existing image directly as the control.
How to create one: Use your existing sprite or generated image directly — no preprocessing needed.
Best for:
- Upscaling a pixel art sprite while keeping its overall look and adding fine details.
- Running a “detail pass” on a generated image to sharpen it without changing the composition.
- Tile-by-tile refinement of large images.
Recommended strength: 0.5–0.8. Tile works best at moderate strength — too high and it fights the upscaling process, too low and it has no effect.
Normal Map
What it does: Normal map ControlNet reads a special colored image that encodes the angle each surface is facing. Red channels encode left-right tilt, green channels encode up-down tilt, and blue represents surfaces facing straight forward. The model uses this to reproduce the same surface geometry and how light would interact with those surfaces.
Control image: A normal map — an image that looks like a blue-purple version of your subject with colored tints indicating surface direction. Normal maps are commonly used in 3D and game assets.
How to create one: Run a Normal preprocessor node in ComfyUI, or export normal maps directly from 3D software. This is a more technical workflow than other ControlNet types.
Best for:
- Working with 3D asset renders where you want to control surface geometry.
- Generating variations of a character or object that keep the same lighting structure.
- Advanced pipelines that use game-engine-style normal map assets as inputs.
Recommended strength: 0.6–0.85.
Seg (Segmentation)
What it does: Seg reads a color-coded map where each flat color represents a category of thing — for example, all sky pixels are one color, all ground another, all buildings another, all people another. The model uses these colored zones to decide what type of content should appear in each spatial region of the output.
Control image: A segmentation map — an image that looks like a simplified, flat-colored version of a scene with no detail, just solid blocks of color representing different object categories. Each color is a specific category code (the standard ADE20K palette is commonly used).
How to create one: Run a Segmentation preprocessor node in ComfyUI on a source image. The preprocessor automatically classifies and colors each region.
Best for:
- Controlling the overall layout of a complex scene (where the sky is, where the ground is, where buildings appear).
- Generating many variations of a scene that all have the same spatial structure but different visual interpretations.
- Scenes with clearly separated zones — outdoors environments, interior layouts, top-down maps.
Recommended strength: 0.6–0.85. Seg guides broad zones rather than fine edges, so it works well at moderate strength.
Control Image
The structural guide image the ControlNet model reads. This is a preprocessed map — not a photo or artwork you want to style. You must use the correct type of image for your chosen ControlNet model.
How to get control images
Option 1 — Generate from your sprite using the Tools tab:
- Go to the Tools tab.
- Choose OpenPose (for pose control) or Depth Map (for depth/layout control).
- Click Generate ControlNet Reference.
- The result is saved and displayed as a new sprite. Use that as your control image.
Option 2 — Create manually:
- For Lineart or Scribble: draw directly in Aseprite and export.
- For Tile: use your existing sprite directly — no processing needed.
- For OpenPose: draw a stick figure diagram by hand.
Option 3 — Use ComfyUI preprocessing nodes: Open the ComfyUI web UI (Tools tab → Open ComfyUI Server) and run a preprocessing workflow to generate Canny, Depth, Normal, Seg, or Lineart maps from any source image.
Resolution tip: The control image should match the aspect ratio and approximate dimensions of your target generation size. If the control image is portrait and you generate in landscape, the structural mapping will be distorted.
ControlNet Settings
Strength
Controls how strongly the ControlNet guides the output structure.
| Value | Effect |
|---|---|
| 0.3–0.5 | Light guidance. Structure is a suggestion; text prompt has more freedom. |
| 0.6–0.8 | Recommended range. Good balance — structure is followed while the model still interprets creatively. |
| 0.8–1.0 | Strict adherence to the control image. Output closely follows the structure. |
| 1.0+ | Over-constrained. Can produce mechanical-looking or unnatural results. |
Start at 0.8. If the structure isn’t being followed well, increase toward 0.9–1.0. If the image looks stiff or unnatural, decrease to 0.6–0.7.
Start Percent
At what fraction of the total steps ControlNet begins applying its influence. 0.0 means from the very first step.
| Value | Effect |
|---|---|
| 0.0 | Active from step 1. Structure is imposed immediately. Default. |
| 0.1–0.3 | Skips the first few steps. Broad composition forms freely, then structure locks in. |
Use 0.0 as your default. Increasing this slightly (to 0.1–0.2) can sometimes improve naturalness when ControlNet is fighting with the model’s own composition instincts.
End Percent
At what fraction of the total steps ControlNet stops applying its influence. 1.0 means until the very last step.
| Value | Effect |
|---|---|
| 1.0 | Active until the last step. Maximum structural enforcement. Default. |
| 0.5–0.8 | Stops mid-generation. Early structure is locked in, but later detail steps run free. Can produce softer, more natural-looking results. |
| 0.3–0.5 | Only active in early steps. Just shapes broad composition; details are fully free. |
Start with 1.0. Try 0.8 if the output looks too mechanical or rigid.
Generation Size (EmptyLatentImage)
Sets the pixel dimensions the model generates at internally.
| Field | What It Does |
|---|---|
| Width | Generation width in pixels |
| Height | Generation height in pixels |
| Use Canvas Size | Sets width/height to match the active Aseprite sprite |
Tips:
- Keep dimensions as multiples of 64 (e.g. 512, 576, 640, 704, 768, 832, 896, 1024…). Odd values can produce visual artifacts.
- Match the aspect ratio of your control image. If the control image is portrait and you generate in landscape, the structural mapping will be distorted.
- Check your checkpoint’s documentation for its preferred native resolution — generating near that size usually gives the best results.
Prompts
Positive Prompt
Describe the scene and style you want. The ControlNet handles where things are spatially; your prompt handles what those things look like.
Tips:
- Lead with the most important concept (subject first, then style, then detail).
- Include style keywords:
pixel art,oil painting,watercolor,anime,photorealistic, etc. - Quality boosters for non-pixel models:
masterpiece, best quality, highly detailed. - Comma-separate concepts. Each comma acts as a natural emphasis boundary.
Example:
- Control image: OpenPose skeleton of a standing figure
- Prompt:
pixel art warrior, silver armor, holding sword, green background, RPG character
Negative Prompt
Describe what you do not want in the image. The pre-filled default (blurry, cropped, ugly, text, watermark) is a reasonable starting point.
Common additions:
blurry, low quality, extra limbs, bad anatomy, deformed, watermark, signature, text, cropped, jpeg artifacts
Tips:
- Negative prompts prevent common failure modes. If your generations have a recurring problem (extra fingers, bad backgrounds), add those words here.
- Don’t go overboard — an extremely long negative prompt can sometimes compete with your positive prompt.
KSampler Settings
The KSampler is the engine that runs the diffusion process.
Seed
A number that initializes the noise pattern. The same seed + same settings = the same image every time.
| Mode | Behavior |
|---|---|
| fixed | Same seed reused every generation (reproducible) |
| increment | Seed goes up by 1 each time |
| decrement | Seed goes down by 1 each time |
| randomize | New random seed each time |
Use randomize while exploring. Switch to fixed once you find a result worth refining. The seed button manually advances the seed without triggering a generation.
Steps
| Range | Effect |
|---|---|
| 10–15 | Fast, rougher results — good for quick iteration |
| 20–30 | Recommended default. Good balance of quality and speed. |
| 40–50 | Slower, marginal quality improvement. |
Start at 20.
CFG (Classifier-Free Guidance Scale)
Controls how strictly the model follows your prompt versus improvising freely. Think of it as a dial between “the model does what it wants” and “the model does exactly what you say.”
| Value | Effect |
|---|---|
| 1–3 | Very loose — model largely ignores the prompt. Creative but unpredictable. |
| 5–7 | Recommended range. Balanced, natural-looking results. |
| 7–9 | More prompt-faithful, but can over-saturate colors or over-sharpen details. |
| 10+ | Very rigid — often produces burnt, over-contrasted, or plastic-looking images. |
Start at 7.0. When ControlNet Strength is high, slightly lower CFG (6–7) can prevent the two influences from fighting each other.
Sampler
The mathematical algorithm used to run the diffusion steps. Think of each sampler as a different strategy for navigating from noise to a finished image — they all reach the destination but take different paths and produce subtly different results.
Recommended default: euler_ancestral
| Sampler | Character |
|---|---|
| euler_ancestral | Fast, slightly painterly, good general purpose. Best starting point. |
| euler | Clean and deterministic. Less variation between generations at the same seed. |
| dpmpp_2m | Efficient — often good quality at 20 steps. |
| dpmpp_sde | Stochastic. Can produce very detailed, slightly different results each run even with a fixed seed. |
Scheduler
Recommended default: normal
| Scheduler | Character |
|---|---|
| normal | Safe general-purpose default. |
| karras | Often improves detail and softness. Pairs well with dpmpp samplers. |
| sgm_uniform | Works well with models that use the EDM noise schedule. |
Denoise %
For ControlNet text-to-image workflows, set this to 1.00 — you are generating from scratch and want the full diffusion process. Do not lower it unless you are intentionally combining ControlNet with an img2img-style workflow.
Requirements
- Compatible ControlNet nodes must be installed in ComfyUI. If missing, the tab shows a warning.
- ControlNet model files must be installed in the
controlnetmodels folder (via Settings → Import Models). - The control image must match the type expected by the selected ControlNet model.
Workflow Tools (Top Bar)
| Tool | What It Does |
|---|---|
| Save Workflow | Saves current settings to a named file for later reuse. |
| Load Workflow | Restores settings from a saved or history workflow. |
| Generate | Runs the generation and auto-saves to history. Seed updates per the Seed Generation mode. |
Tip: Save workflows when you find a combination you like. You can build a library of different control setups and reload them instantly.