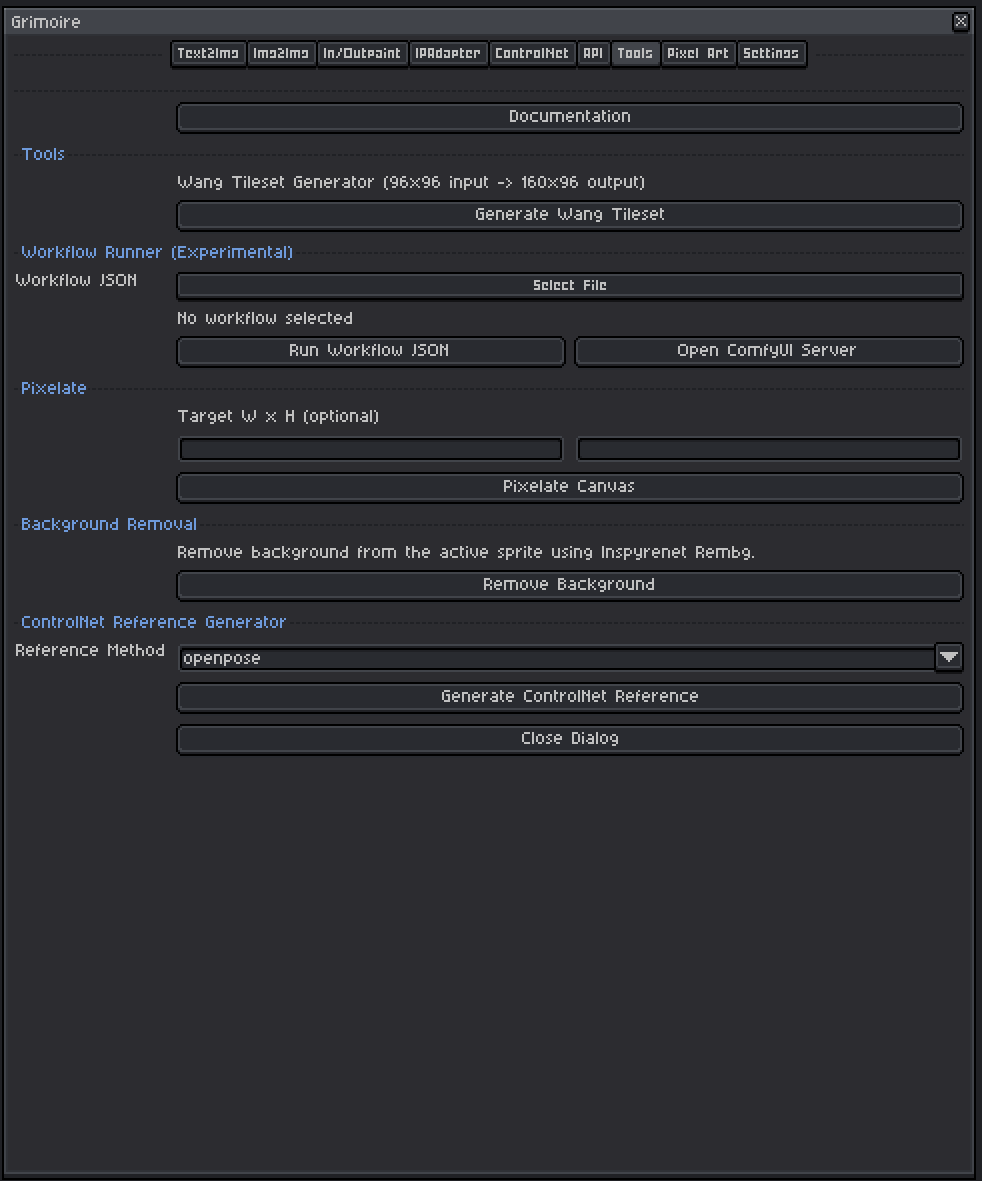
Aseprite Extension
Tools
Utility workflows like Wang tilesets, pixelation, and background removal.
What Is This?
The Tools tab provides utility actions that work alongside the main generation tabs. These are standalone operations — they don’t use the full ComfyUI generation pipeline in the same way, but some of them run ComfyUI workflows under the hood.
ControlNet Reference Generator
Generates a structural reference image from your active sprite that can then be used as a ControlNet control image.
Why Use This?
Before using the ControlNet tab, you often need a preprocessed “map” image (pose, depth, etc.) rather than the raw photo or sprite. This tool creates those maps directly from your Aseprite sprite.
Reference Methods
OpenPose
Detects human body landmarks (skeleton joints) in your sprite and generates a stick-figure pose diagram. Use this when you want to control the pose of a character in a generation.
- Input: Your active sprite should contain a clearly recognizable human or humanoid figure.
- Output: A stick-figure skeleton image (COCO format) showing the body keypoints.
- Use in ControlNet with: An OpenPose-trained ControlNet model.
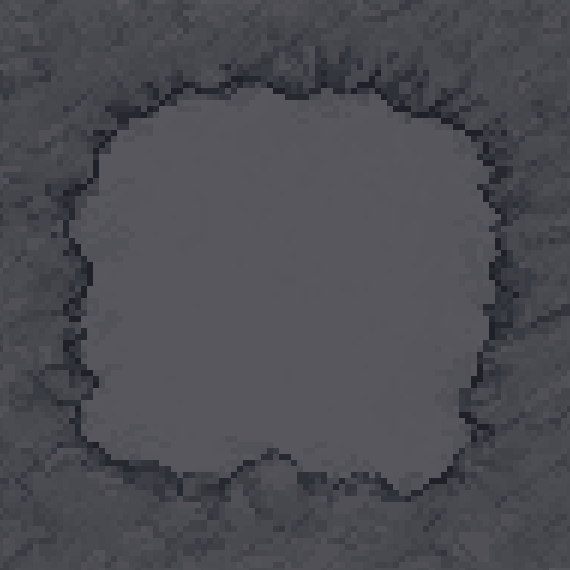
Depth Map
Analyzes your sprite and generates a grayscale depth map where bright areas are close to the viewer and dark areas are far away. Use this when you want to control the spatial layout and depth of a generation.
- Input: Any sprite — works best with scenes that have clear foreground/background separation.
- Output: A grayscale image. White = nearest, black = farthest.
- Uses: Depth Anything V3 model (downloaded automatically if not present).
- Use in ControlNet with: A Depth-trained ControlNet model.
How to Use
- Open the sprite you want to analyze in Aseprite (it must be the active sprite).
- Choose a Reference Method (openpose or depthmap).
- Click Generate ControlNet Reference.
- The result is saved to the ComfyUI output folder and displayed as a new sprite in Aseprite.
- Switch to the ControlNet tab, select the saved image as your control image, and generate.
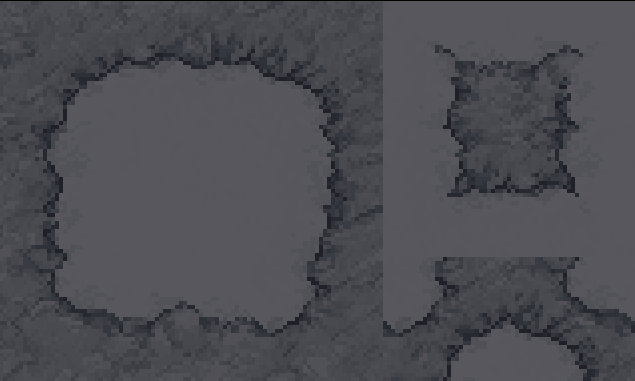
Wang Tileset Generator
Generates a complete Wang tileset from a 96×96 input sprite.
What Is a Wang Tileset?
A Wang tileset is a set of tiles arranged so that their edges connect seamlessly in any combination. They are used in tile-based games to create naturally flowing terrain, walls, and transitions without manually designing every edge case.
How to Use
- Prepare a 96×96 sprite that represents your base tile set layout.
- Click Generate Wang Tileset.
- The output is a 160×96 sprite with the full Wang tile arrangement.
Requirements: The input sprite must be exactly 96×96 pixels.
Pixelate
Reduces the resolution of your active sprite to simulate a pixel art look, then optionally scales it back up.
How to Use
- Optionally set a Target W × H to specify the downscaled target dimensions.
- Leave blank to use a default small size.
- Click Pixelate Canvas.
Use case: You have a high-resolution AI-generated image and want to convert it to pixel art by aggressively downscaling it to a low resolution.
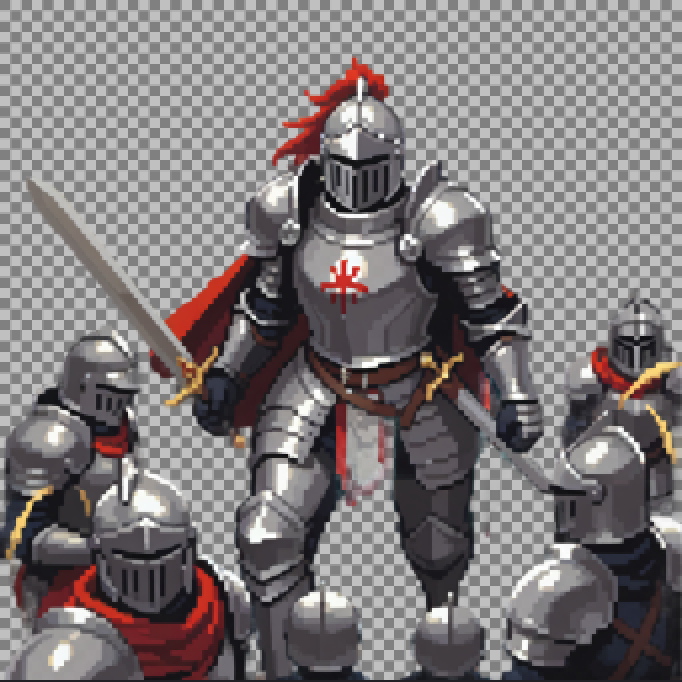
Background Removal
Removes the background from your active sprite using the Inspyrenet Rembg ComfyUI node.
How to Use
- Make sure the sprite you want to process is active in Aseprite.
- Click Remove Background.
- The result is returned as a new sprite with a transparent background.
Best results:
- Works best on subjects with clear edges against a contrasting background.
- Pixel art with aliased edges typically produces clean cuts.
- Complex or very detailed backgrounds may not cut cleanly.
Requirement: The Inspyrenet Rembg node must be installed in ComfyUI.
Workflow Runner (Experimental)
Lets you run any arbitrary ComfyUI workflow JSON file directly from Aseprite, without being limited to the built-in tabs.
How to Use
- Click the file picker and choose a
.jsonworkflow file. - Click Run Workflow JSON.
- Confirm the experimental warning dialog.
- The plugin validates and normalizes the workflow, then runs it.
What Happens Automatically
- SaveImageWebsocket node: If the workflow does not already include a
SaveImageWebsocketnode, one is added automatically connected to the best detected image output. This is required for results to be returned to Aseprite. - LoadImage nodes: If the workflow contains any
LoadImagenodes, the current active sprite is automatically exported and set as their input image.
Supported Workflow Formats
The runner accepts:
- Raw ComfyUI API-format JSON (flat node dictionary).
- Exported ComfyUI workflow JSON with a
workfloworpromptkey wrapping the node dictionary.
Limitations
- Nodes that require very specific inputs not available in Aseprite context may not work correctly.
- Very complex workflows with multiple image outputs may only return the first connected image.
- This is an experimental feature — not all workflows are guaranteed to work.
Open ComfyUI Server
Opens the ComfyUI web UI in your default browser at the local server address. Useful for:
- Debugging workflows visually.
- Browsing the ComfyUI node library.
- Checking server status and queue.
The servers must be running (started from the Settings tab) for this to work.